
1. Create new project UPLOAD <project-name>.
2. Add data object asset (e.g., upload).

3. Add asset Guided Decision Table using “Add asset” option from home page.
4. Enter GDT name, choose package and select an option from Hit Policy drop down. You can select from any of the listed policies based on the requirement. In this example, we are using First Hit.

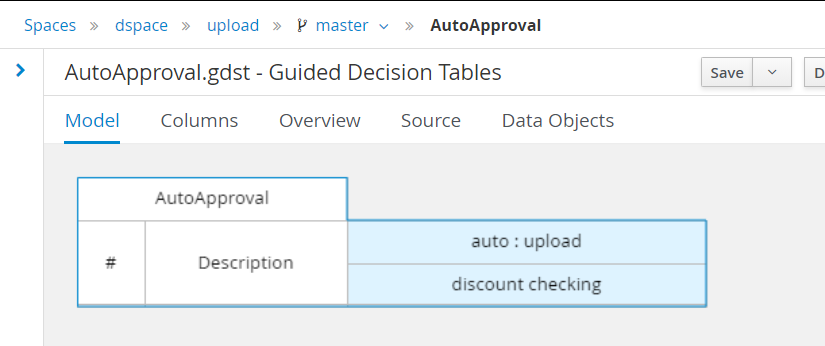
5. Click OK button, then you will see the GDT as below.

6. Insert columns by clicking on Columns tab, there will be a popup window as below.
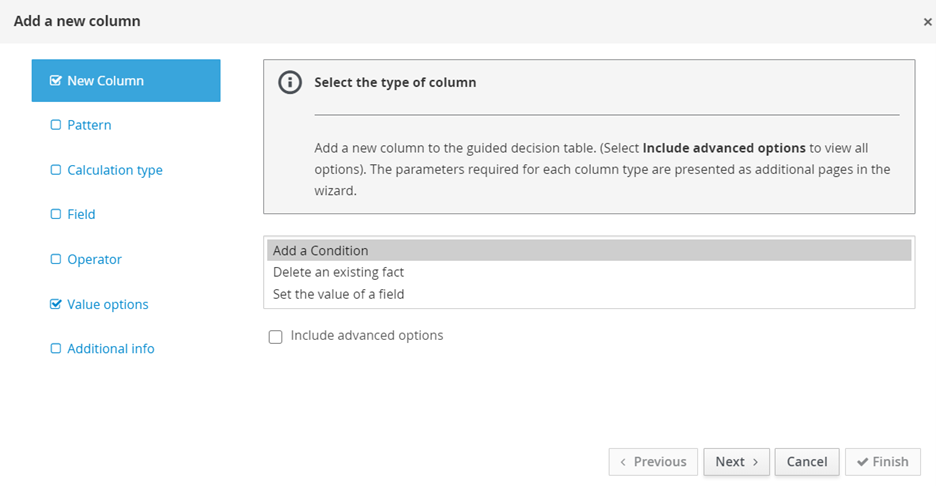
7. We should configure the mentioned options as in below screenshot.

7.1 New Column:
Add a condition -> next ->
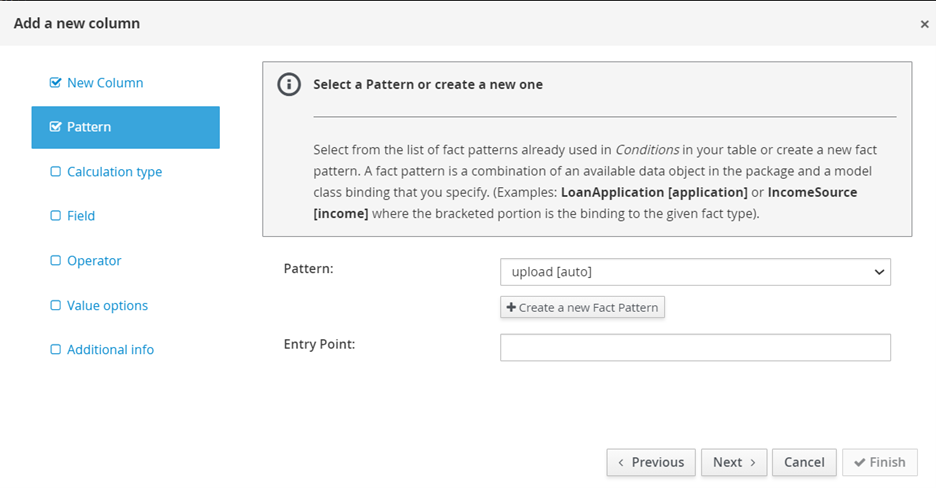
7.2 Pattern:

Then click on create a new fact pattern button, it will show a new popup.
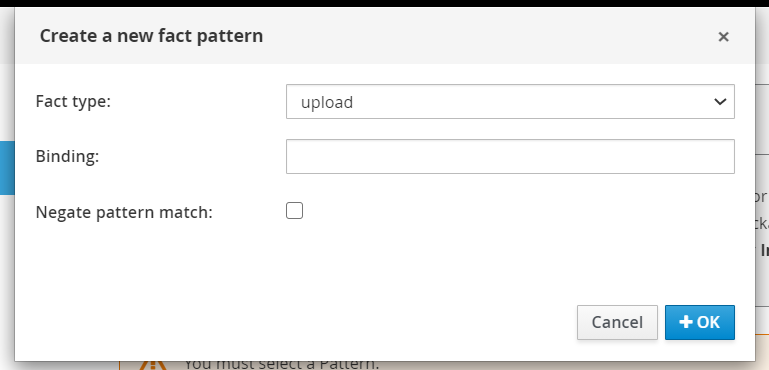
We must provide the Binding value and click Next.
7.3 Calculation type:
Select literal value radio button and click next.
You can select other options based on your requirement.

7.4 Field:
Choose field value from dropdown and Binding is optional.

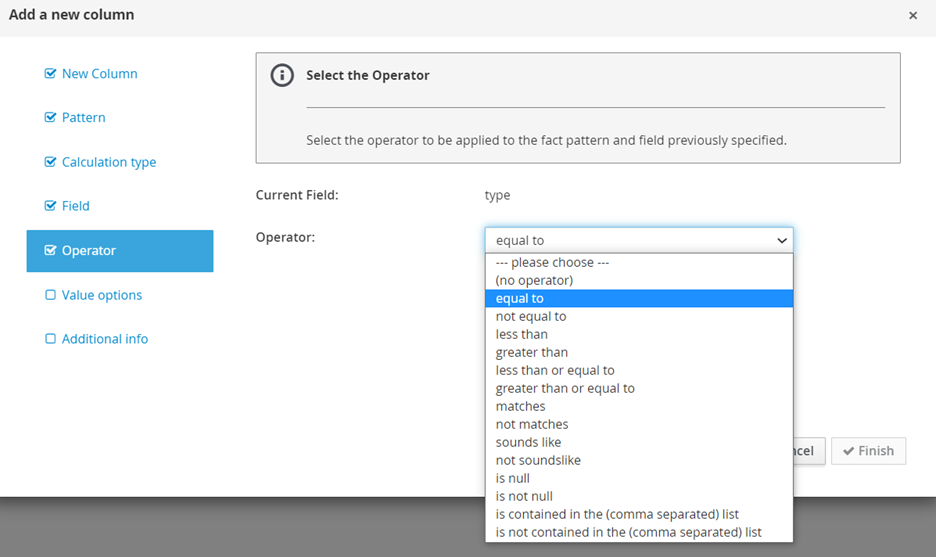
7.5 Operator:
Choose equal to option from drop down and then next
7.6 Value options:
Here we can provide multiple options with comma separate in value list. Then it will show in Default tab in drop value like below.

I have given gold and diamond; it is showing same in drop down. Then click next.
7.7 Additional Info:
Header filed is mandatory filed and click finish button.

8.Below is the table structure.
9. Here we can add rows using Append row under insert button drop down.
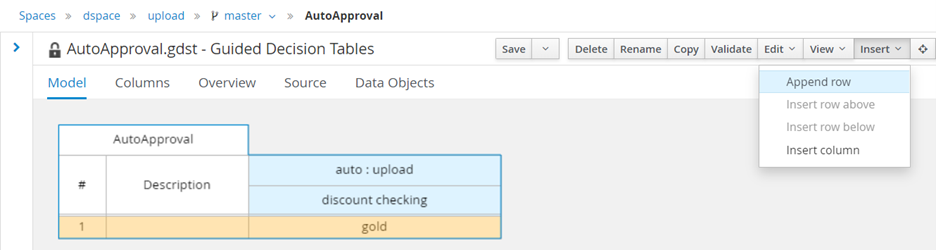
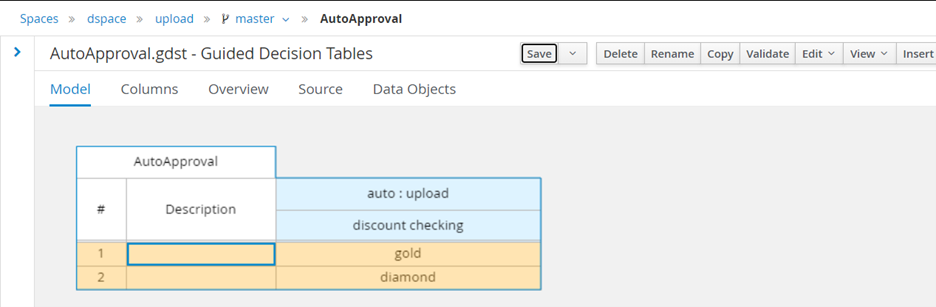
10. We can add multiple rows using same option. And if we double click on gold tab it shows list of options which are, we added in previous steps.

11. Do not forget save.
12. Using above steps, we can add multiple columns as per our requirement.
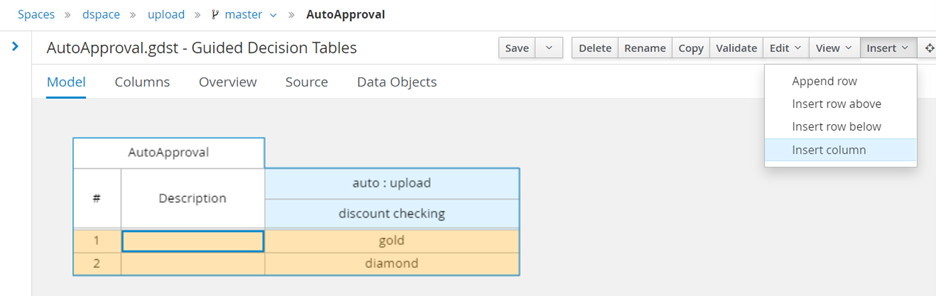
13. Here adding one more column action.
14. Click on insert tab and choose insert column.
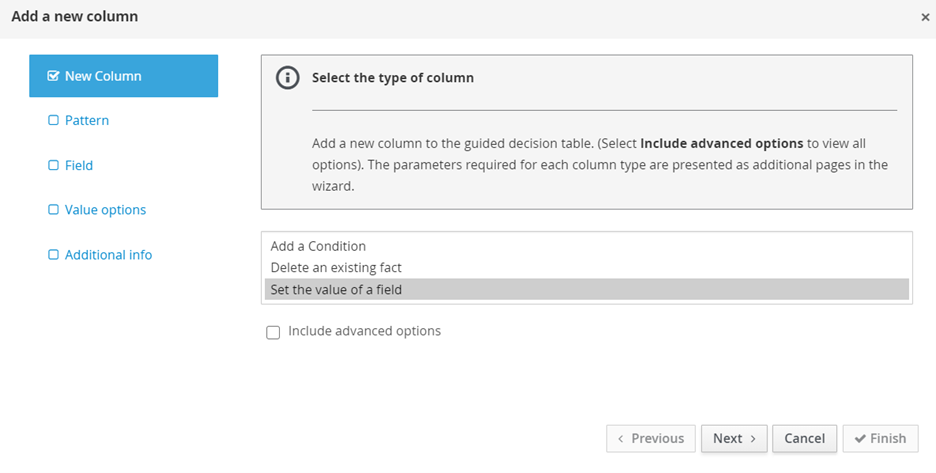
15. Select set the value of a field and click on next.
16. Choose upload[auto] pattern by clicking dropdown of pattern filed and then click next.

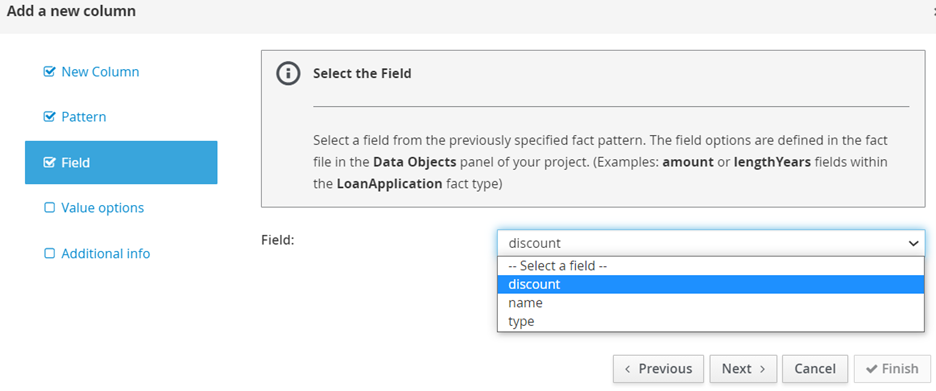
17. Select discount filed from field dropdown.
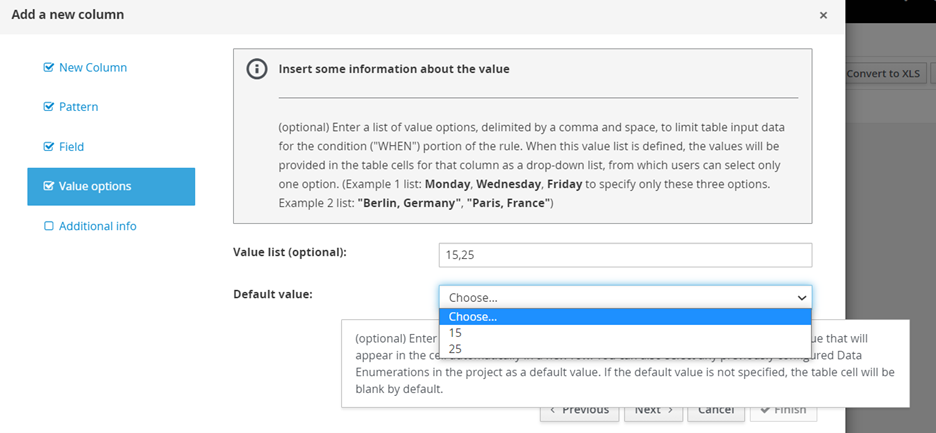
18. Provide optional values then it will show in drop down like below.
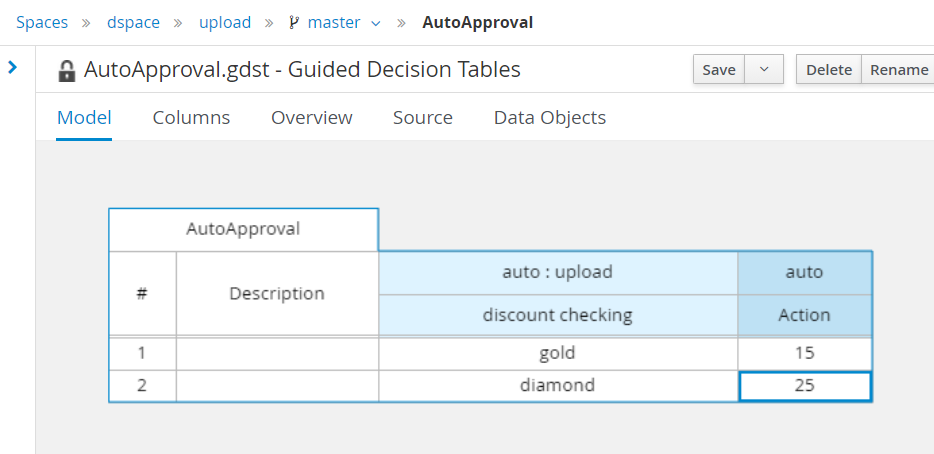
19. Given Header description as Action and click Finish.

20. Below is the GDT final structure.
21. Click on save button and then click on validate button and it should be successfully validated.
Use Test Scenario Asset for testing instead of POSTMAN:
1. Once deployment got completed, add Test Scenario Asset using add asset option.
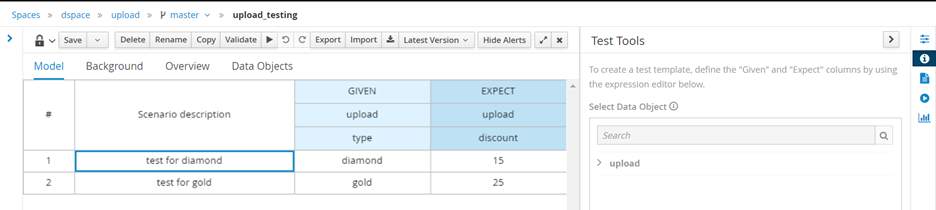
2. Below is the normal Test Scenario Asset.

3. We provided condition and action details below.
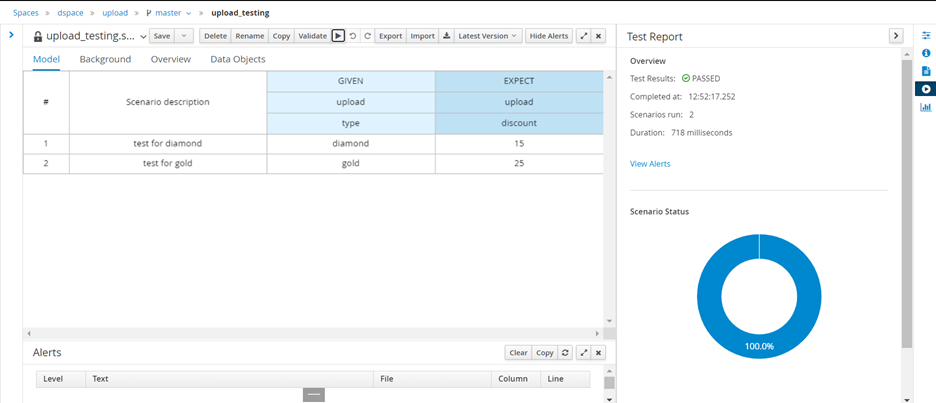
4. Then start testing using play option and the response is like below.
5. If something is wrong, it will show like below.
